
Elevate Your Portraits: Advanced Lighting Techniques for Stunning Results

By: Phillip Haumesser
In the world of photography, portraits hold a special place. They capture the essence of a person, telling stories through expressions, poses, and, most importantly, light. Whether you're shooting professional headshots, family sessions, or creative self-portraits, mastering lighting can transform ordinary images into captivating works of art. Today, we'll dive deep into advanced lighting techniques that go beyond the basics, helping you create portraits that stand out with depth, drama, and emotion. This guide is designed for photographers who have grasped the fundamentals and are ready to push their skills further.
Understanding Light Quality and Direction
Light isn't just about illumination—it's about quality and direction. Hard light creates sharp shadows and high contrast, ideal for dramatic portraits that emphasize texture and form. Soft light, on the other hand, diffuses shadows for a flattering, even look, perfect for beauty shots or corporate headshots.
By: Phillip Haumesser
Start by experimenting with natural light sources. During midday, the sun provides hard light from overhead, which can cast unflattering shadows under the eyes and nose. To counter this, position your subject in open shade, like under a tree or building overhang, where the light bounces softly. For directional control, use reflectors: a white reflector fills in shadows gently, while a silver one adds sparkle and contrast.
In studio settings, advance to three-point lighting. The key light is your main source, placed at a 45-degree angle to the subject for dimension. Add a fill light on the opposite side at half the intensity to soften shadows, and a backlight behind the subject to separate them from the background, creating a halo effect. This setup adds professionalism and can be adapted with affordable LED panels or speedlights.
Harnessing Artificial Light for Creative Control
By: Phillip Haumesser
Natural light is unpredictable, so incorporating artificial sources gives you consistency. Continuous LED lights are beginner-friendly for portraits because what you see is what you get—no surprises with flash. Look for lights with adjustable color temperature (from warm 3200K to cool 5600K) to match ambient conditions or create moods: warmer tones for intimate, cozy portraits; cooler for modern, edgy ones.
Flash photography opens up more possibilities. Off-camera flash allows you to mimic natural light directions. Use modifiers like softboxes for diffused light or snoots for focused beams to highlight specific features, such as cheekbones or eyes. High-speed sync lets you shoot at faster shutter speeds to freeze motion while balancing flash with ambient light, essential for outdoor portraits where you want a shallow depth of field.
One advanced technique is light painting: in a dark environment, use a handheld light source like a flashlight to "paint" light onto your subject during a long exposure (10-30 seconds). This creates ethereal effects, like glowing outlines or selective illumination, adding an artistic flair to conceptual portraits.
Color Gels and Mixed Lighting for Mood
To elevate portraits further, introduce color gels—thin, colored sheets placed over lights. Blue gels can simulate moonlight for mysterious vibes, while orange mimics sunset warmth. Mixing color temperatures adds intrigue: combine cool window light with warm artificial fill for a cinematic look that draws viewers in.
Balance is key; use gels sparingly to avoid unnatural skin tones. In post-processing, adjust white balance to enhance these effects without overcorrecting. This technique shines in themed shoots, like fashion or editorial portraits, where mood storytelling is crucial.
Posing and Light Interaction
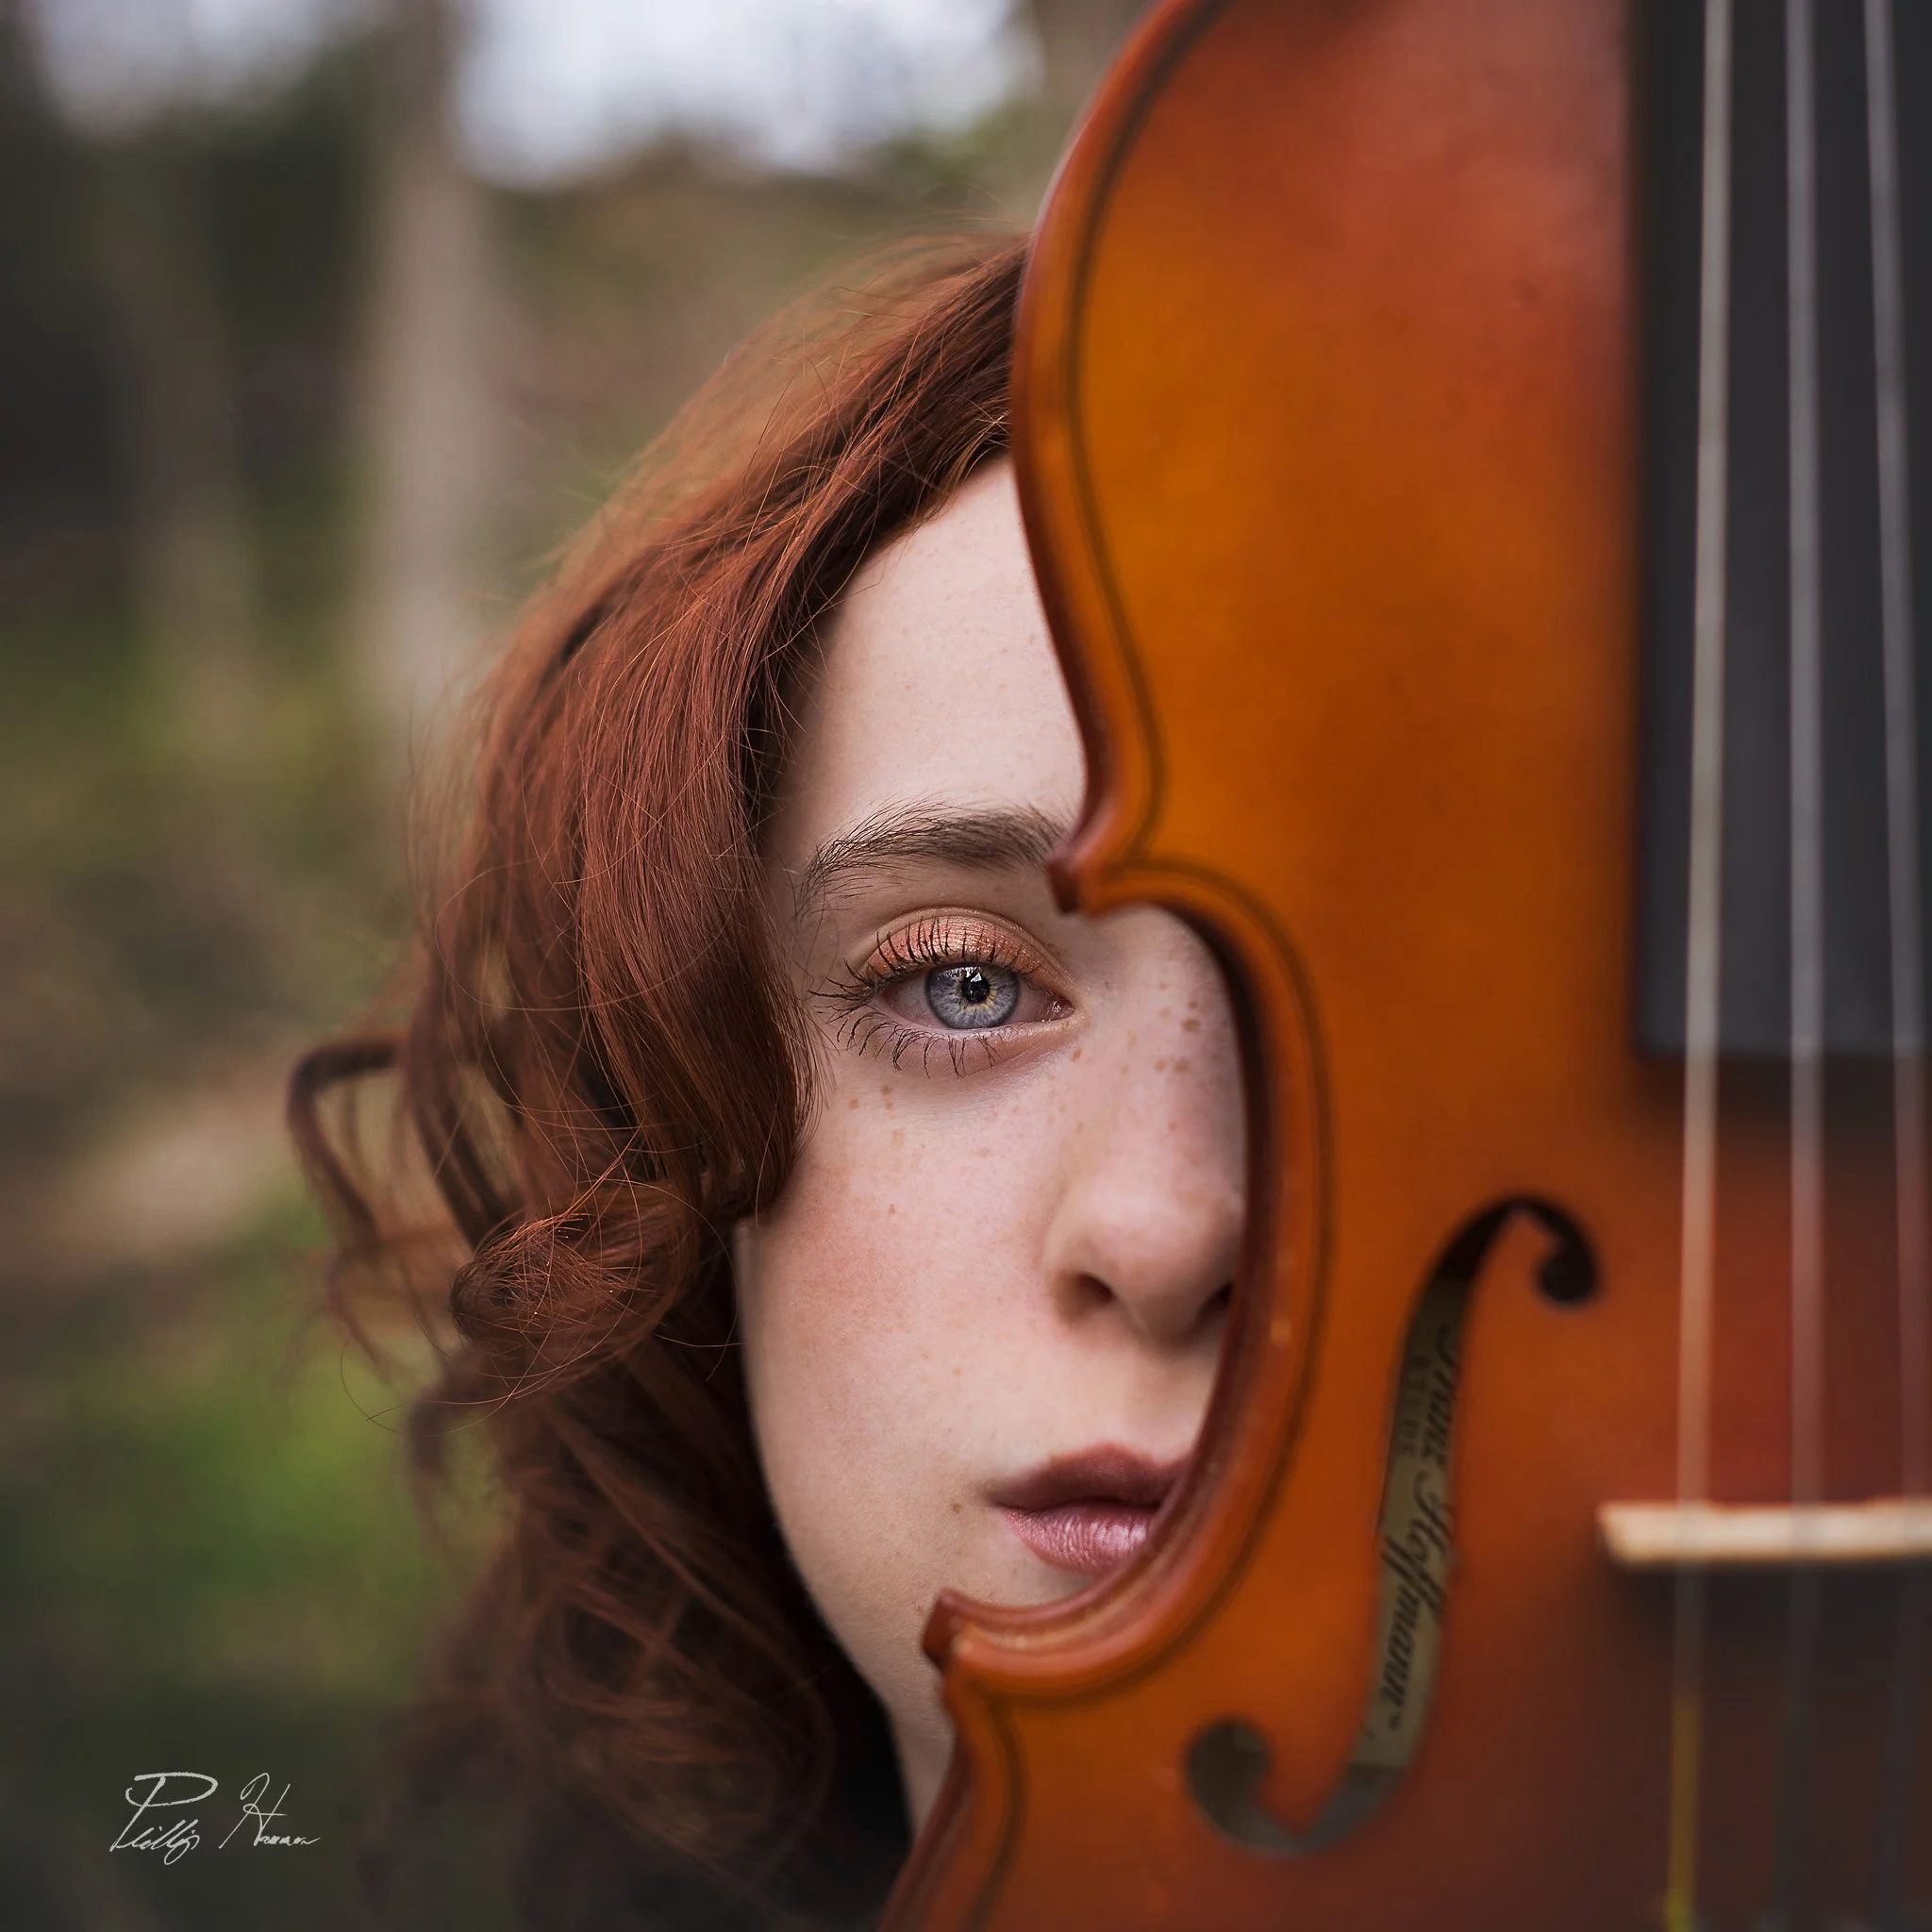
Lighting doesn't work in isolation—pair it with posing. Direct your subject to turn toward the light for Rembrandt lighting, where a triangle of light appears on the shadowed cheek, adding classic drama. For butterfly lighting, position the light directly above and in front, creating a small shadow under the nose for glamorous, symmetrical results.
Encourage subtle movements: a slight head tilt can change how light falls on the face, highlighting jawlines or eyes. For group portraits, layer subjects so light gradients create depth—brighter on foreground figures, softer on those behind.
Common Challenges and Solutions
Harsh shadows? Diffuse with scrims or shoot during overcast days. Uneven skin tones? Use beauty dishes for even illumination. Low-light environments? Boost ISO sparingly (up to 1600 on most cameras) and add noise reduction in editing.
Always meter your light: use a handheld meter for precise exposures, ensuring highlights aren't blown out and shadows retain detail.
Editing to Enhance Lighting Effects
Post-production amplifies your lighting choices. In Lightroom, use the radial filter to dodge and burn, brightening eyes or darkening backgrounds for focus. Photoshop's layers allow frequency separation: separate texture from color to smooth skin without losing natural pores, preserving the light's texture.
Curves adjustments fine-tune contrast—S-curves for punchy looks, inverted for matte effects. Remember, editing should enhance, not overhaul; aim to replicate what the eye sees but elevated.
Practical Exercises to Build Skills
Set up a home studio with window light and a reflector; shoot the same subject at different times of day.
Experiment with one light source only, moving it around to see shadow changes.
Try gelled flashes outdoors at dusk for surreal portraits.
Edit a series of images focusing solely on light adjustments.
These techniques require practice, but the results—portraits that evoke emotion and professionalism—are worth it. As you refine your approach, you'll notice your work gaining that polished edge clients love.
Ready to master these lighting techniques and more? Join the Academy today for unlimited access to over 100 video tutorials on photography and editing. For just a small monthly fee, you'll get downloadable resources, personalized feedback, and the tools to turn your passion into professional results. Don't wait—sign up and start creating stunning portraits now!